Interested in opening a second account with us? You’re making the right choice!
Lesson Opening your second account

Interested in opening a second account with us? You’re making the right choice!
You’ll be joining many of our customers who already have more than one account with us. Enjoy the added flexibility of multiple registered account types, potential tax benefits, and the ability to manage all of your assets in one place.
It’s very easy to add a second account (or a third!) to your existing profile with us. The best part? This should take less than 10 minutes.
Note: The instructions below are for adding an additional account via our website. You can also open an additional account via our mobile app, QuestMobile.
Please note: The information shown in this article may vary slightly from your experience as we work to improve the overall account opening process.
Check out our helpful blog article on this topic.
Alternatively, we have some great information listed on these pages that may help with your decision:
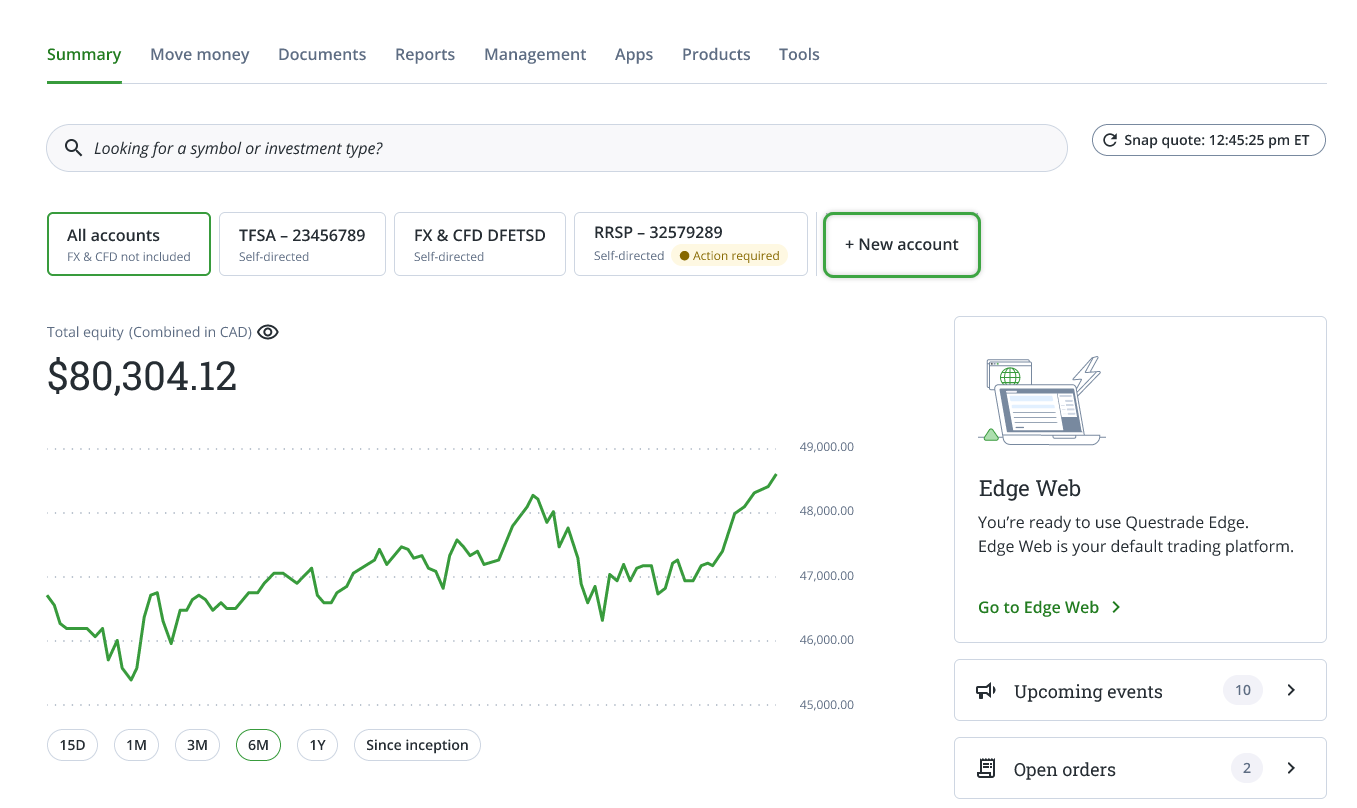
To choose your self-directed account type, you can select the drop-down beside the account names to learn more.
.jpg?sfvrsn=aa7452bf_2)
After you select the account you’re opening, please click the green “Next” button near the bottom.
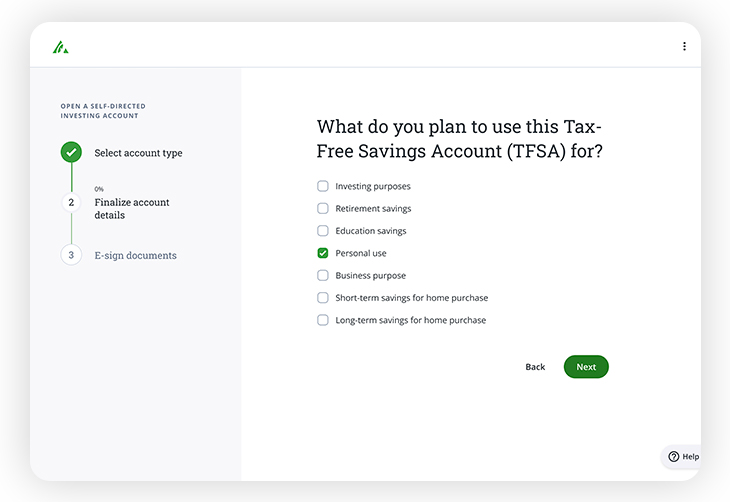
Once you have selected your account type, you will move onto a selection of what you would like to use your account for.
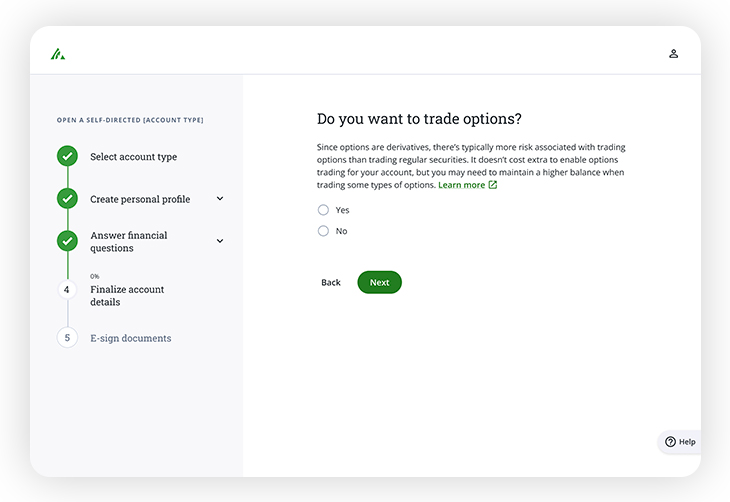
You can also decide if you would like to trade options or not.
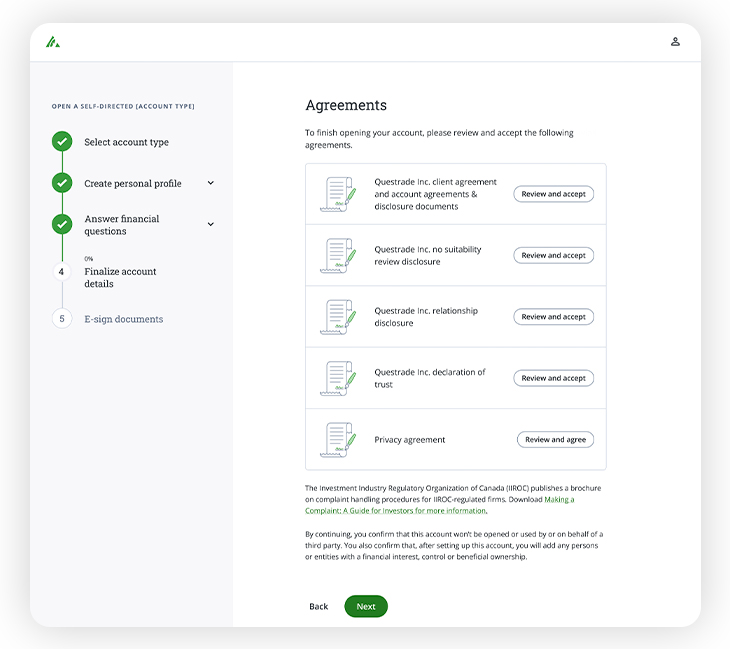
From here, let’s move on to the agreements section. When you select “review and agree”, the actual agreement itself will appear. Please read through this thoroughly before clicking the green “Accept” button at the bottom.
You can then continue on and do the same thing for each of the agreements shown. Once you have a checkmark next to each agreement, you can click the “Next” button at the bottom.
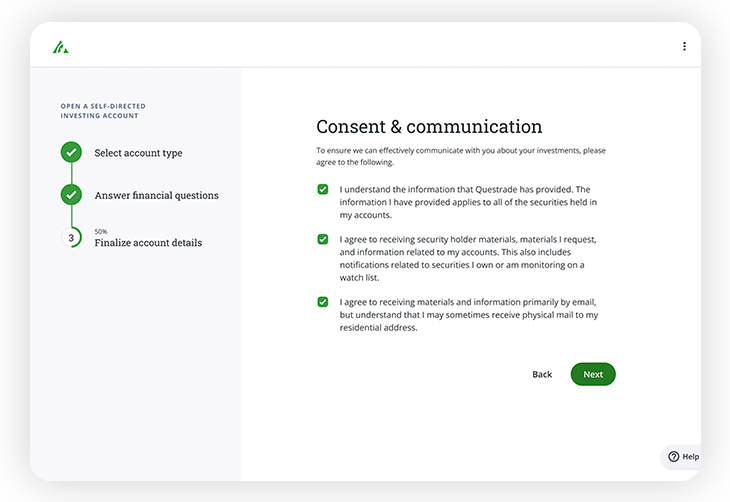
After you’re finished with the agreements, please proceed to the next section “Consent and communication”. Please select all checkboxes to agree.
We’re almost finished! To finalize your application, we just have to sign and submit any necessary documents.
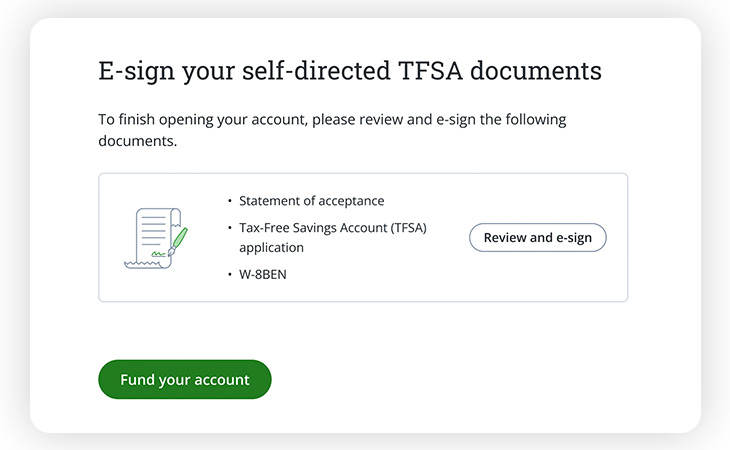
From this page you can “E-sign” your forms by selecting “Review and e-sign” this will take you to Docusign where you can sign the required forms.
When you click the “Review and e-sign” button, you will be taken to a new page through our DocuSign interface.
First, you’ll need to agree to using electronic signatures at the top of the page if you haven’t already done so in previous applications.
Once this is done, please click the green “CONTINUE” button to move onto the next step.
Afterwards, you’ll be able to view any documents available to E-sign. Feel free to scroll through, or even print the documents before signing online. To print, please click the small printer icon at the top of the document.
To begin signing, please click the green “Start” button on the left-hand side of the page, and click each highlighted box with an initial or signature. Your initials and signature will be pre-filled with the electronic signature used for your first account.
Please note: Your electronic signature does not have to “match” your handwritten signature. As long as you have a valid ID uploaded with a signature visible, this will not cause any issues.
Please review the document before clicking the green “FINISH” button at the bottom to move forward.
Congratulations! You’ve finished E-signing your documents.
If you’d like to print or download your agreements, please follow these steps:
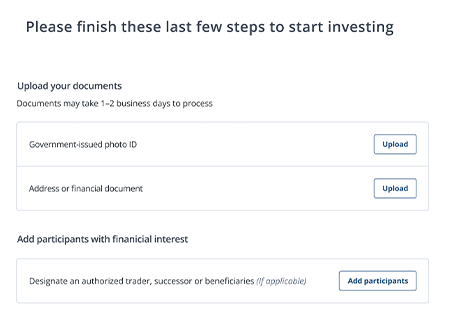
To finalize your new account, please proceed through the last section to upload any necessary documents.
If you have recently uploaded your government-issued photo ID for another Questrade account, you can skip this step as our systems will automatically re-use your ID for this new account. In these cases, you’ll see a green check mark next to the Photo ID requirement.
If it has been more than 6 months since you opened your first account, we may require a new copy of your ID.
If this is the case, your Summary page will show you a notification to upload and submit a new photo ID.
If you’re completing this application on a mobile device, you’ll also be prompted to either take a new photo, or upload one saved on your device.
As a reminder: In most cases, we only require the front side of your ID with your signature visible.
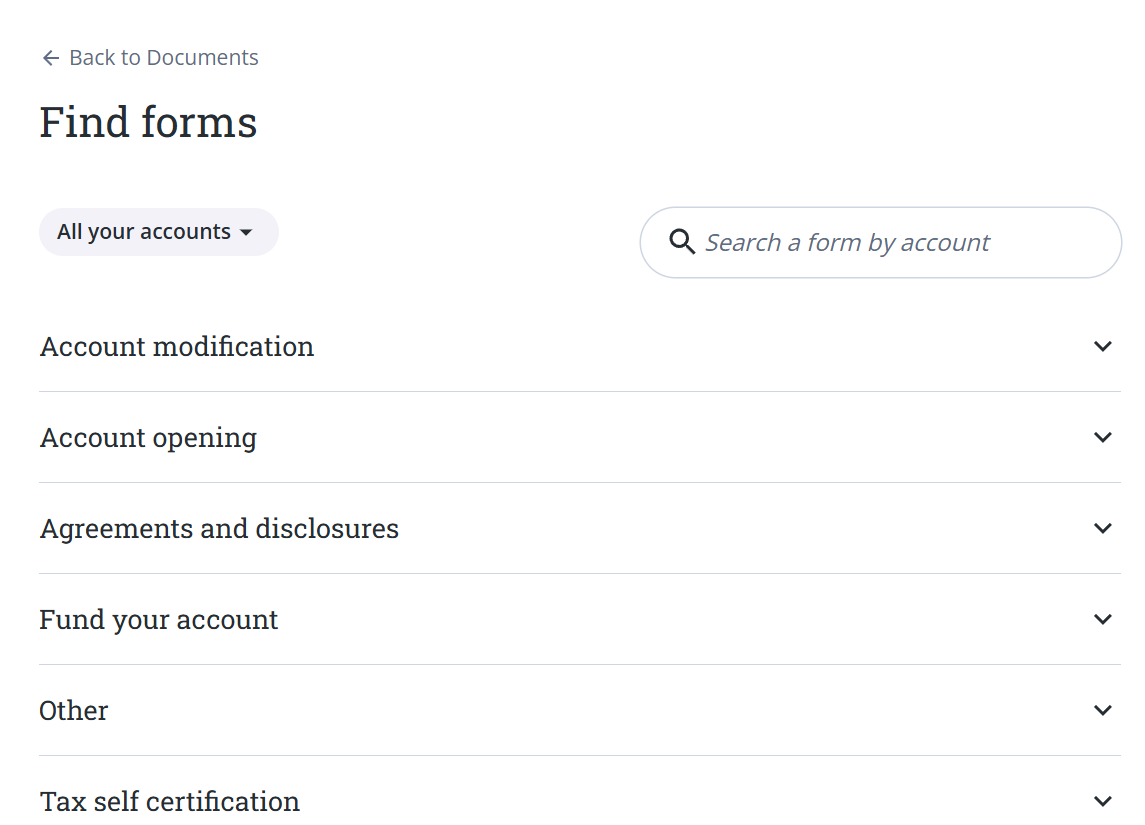
If there are any remaining documents required for your new account, you’ll be able to see them listed below the photo ID requirement.
Please download, print and hand-sign these documents, and in most cases you will then be able to upload them directly to your account.
Rarely, we may ask you to mail in certain documents where we require the originals. If this is the case, instead of an upload button, you’ll be able to see our mailing details.
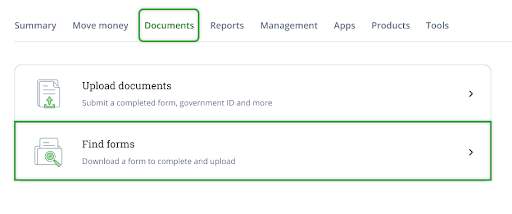
You can upload your documents directly through the application with the Upload button or, alternatively, you can navigate directly to our Upload documents page.
Here are some step-by-step instructions for how to upload your documents.
Congratulations! You’ve finished uploading the required documents for your new account.
Now that you’ve finished signing and uploading your documents, the last step is to fund your new account.
We have a number of different funding options available. For more details, please visit our Funding page or check out our video guide.
You can also choose to transfer an existing account from another bank or broker. If this is the case, please read our guide to transferring an account.
Reminder: If your outgoing bank or brokerage charges a “transfer-out fee” to move your accounts, we can help cover this charge as part of our Transfer for free promotion.
You can view the Terms and conditions of the promotion here.
Note: The information in this blog is for educational purposes only and should not be used or construed as financial or investment advice by any individual. Information obtained from third parties is believed to be reliable, but no representations or warranty, expressed or implied, is made by Questrade, Inc., its affiliates or any other person to its accuracy.
Want to dive deeper?
Explore the many different ways you can deposit funds to your Questrade account(s).
View lessonRead next
Learn what you need to know when opening a self-directed or Questwealth Portfolios account.
View lessonExplore
Learn about how to make the most of the research tools available to you in each Questrade platform.
View lesson